Home › Core techniques
Woodworking techniques worth practising first
Reviewed 30 August 2026 · how we research
Most projects reuse the same handful of skills. Get these solid and the plan almost stops mattering; get them wrong and the best plan still produces a wobbly result.
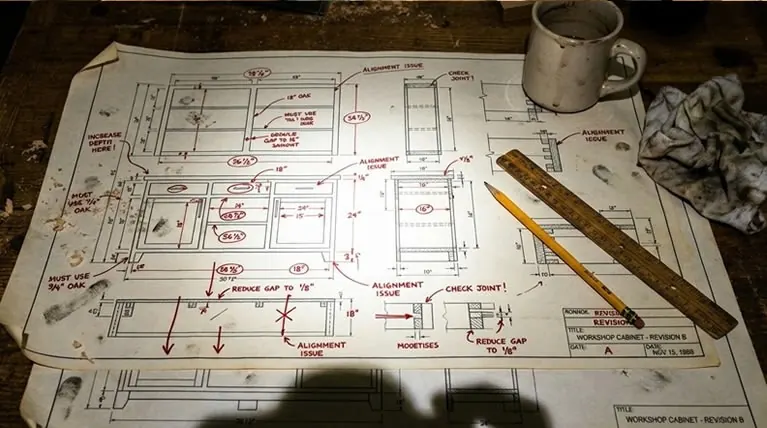
Marking and measuring
Work from one reference face and one reference edge, marked, and measure everything from them - not from the last cut. Use a knife line for joinery; it is more precise than pencil and gives your saw or chisel a wall to register against. "Measure twice" is really "mark once, carefully".
Straight, square cuts
Cut to the waste side of the line and sneak up to fit. For crosscuts, a bench hook or a squared guide beats freehand. Check the blade is square to the base or fence before a session, not after a bad cut.
Drilling
Mark the centre with an awl so the bit does not wander. Back up through-holes with scrap to stop blow-out. For repeatable depth, use a stop collar or tape on the bit.
Basic joinery
- Butt joint + screws or pocket screws: fast, fine for shelving, boxes, shop furniture.
- Dado / rabbet: stronger shelf and case joints; a router or table saw does them cleanly.
- Mortise and tenon: the joint for anything that racks - chairs, tables, doors.
Glue-ups
Dry-fit first, have all clamps and a damp rag ready, and glue on a flat surface. Even, moderate pressure - squeeze-out should be a thin, continuous bead, not a flood. Check diagonals for square before it sets.
Sanding and finishing
Progress through grits without skipping more than one step (say 80, 120, 180, 220). Remove dust between grits. For finish, thin coats, sand lightly between them, and follow the product's cure time - most finish "failures" are impatience.
Safety, briefly
Eye and ear protection every time. Push sticks near blades. No loose sleeves, gloves near spinning tools, or reaching over a running blade. Respect that a router and table saw do not forgive lapses.
FAQ
What woodworking skills should I learn first?
Accurate marking from reference faces, cutting square to a line, and controlled glue-ups. Those three carry almost every project.
Why are my joints not tight?
Usually marking from the wrong reference, or cutting on the line instead of to the waste side. Mark with a knife, cut proud, and trim to fit.
How many sanding grits do I need?
Three or four, without skipping more than one step, for example 80, 120, 180, then 220. Clean off dust between each grit.
How do I measure and mark accurately?
Work from one reference face and edge, mark with a knife for joinery, and measure every part from the reference, not from the last cut.
How do I cut a straight line by hand?
Use a bench hook or a squared guide, cut to the waste side of the line, and check the blade is square before you start.
How do I drill a hole without it wandering?
Mark the centre with an awl, back through-holes with scrap, and use a stop collar or tape for repeatable depth.
How do I glue up without a mess?
Dry-fit first, have clamps and a damp rag ready, apply a thin even bead, and check the assembly for square before it sets.
What is the right order for a finish?
Sand through grits, remove dust, decide on colour, then apply thin coats with a light scuff between each.
What are the essential safety habits?
Eye and ear protection every time, push sticks near blades, no loose sleeves or gloves near spinning tools, and never reach over a running blade.
How do I avoid tear-out when planing or routing?
Work with the grain direction, take light passes, and back up exit edges.
More: Beginner tool kit · Beginner projects · Woodworking plans